How to Create an Expense Entry in myBillBook
Know how to create an 'Expense Entry' in myBillBook
Written By Aashika Singh
Last updated Over 1 year ago
Feature Overview
The Expense Voucher feature in myBillBook billing software simplifies business expense management. It allows users to log expenses systematically, track spending by category, and generate reports for better financial analysis. Whether you're dealing with GST-compliant expenses or general operational costs, this tool ensures all your expense entries are accurately recorded.
Use Cases
Vendor Payments: Record recurring vendor payments with or without GST.
Office Utilities: Track utility bills such as electricity, internet, and water.
Employee Reimbursements: Manage employee reimbursements efficiently.
Steps to Create an Expense Entry in myBillBook
Step 1 : Access the Expense Module
Navigate to the Expense section from the left-hand menu.
Step 2 : Initiate a New Entry
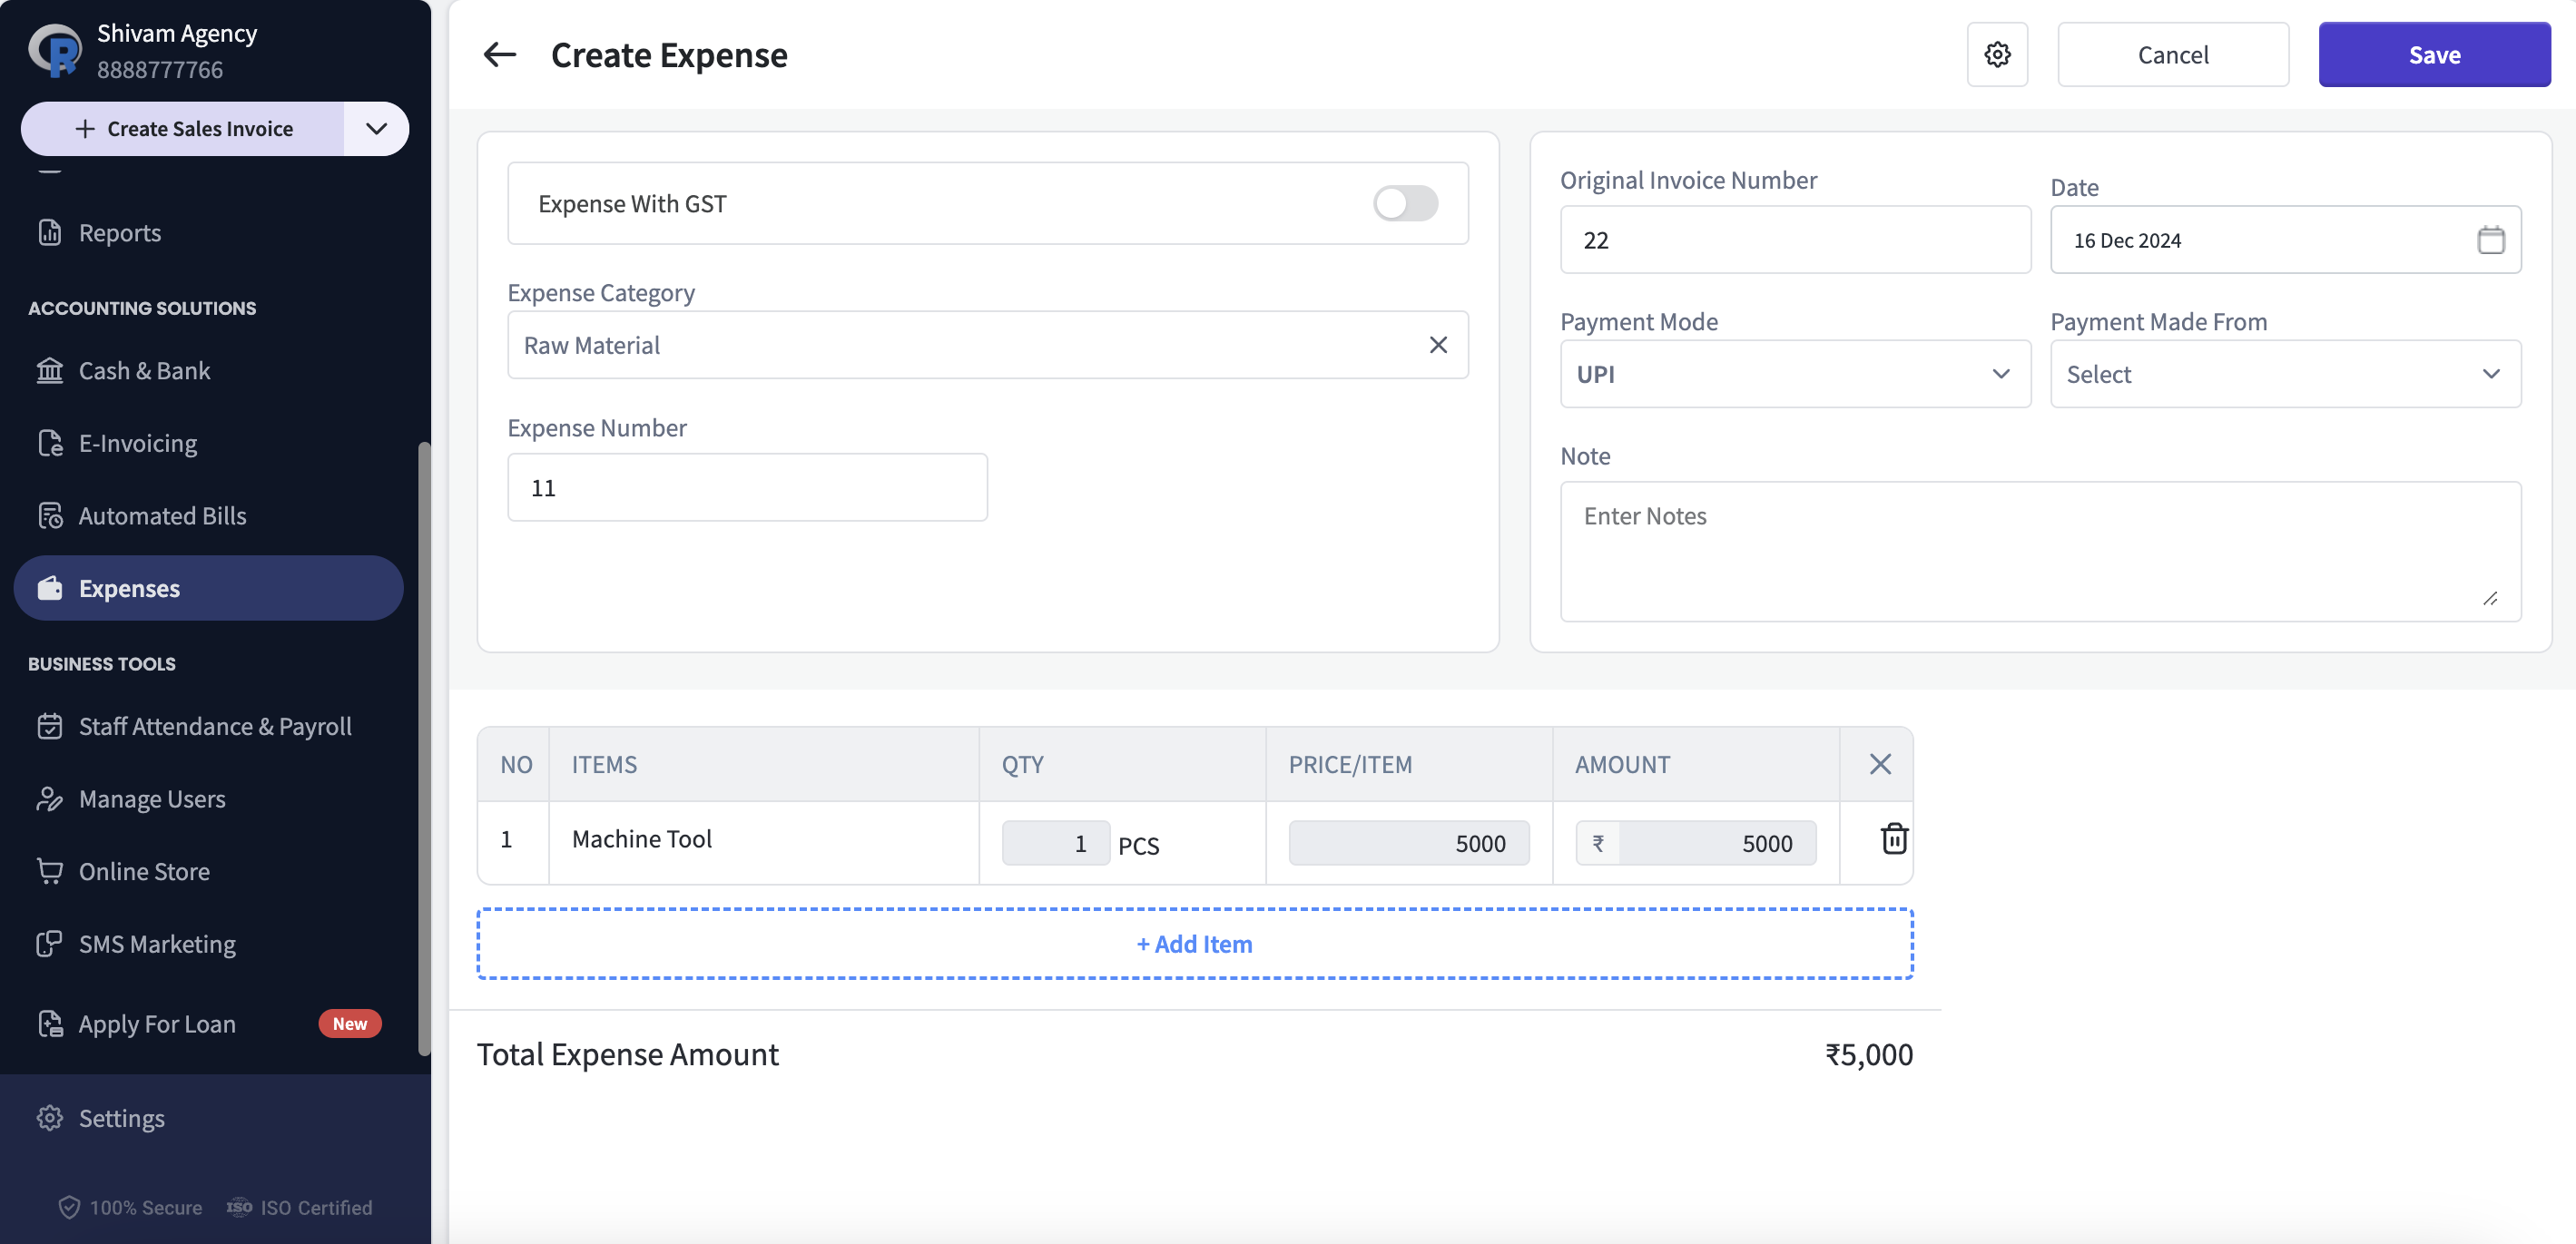
On the Expense Dashboard, click on Create Expense.
Step 3 : Choose GST or Non-GST Entry
Use the toggle on the left-hand side to select whether the expense includes GST.
Step 4 : Select or Add an Expense Category
Choose a category from the dropdown menu.
If the desired category is not listed, click Add/Manage Category to create a new one.
Step 5 : Add Expense Items
For pre-defined expense items, select from the available list.
To add a new item, click Create New Item. (Note: Expense items are separate from inventory items.)
Step 6 : Enter Invoice Details
Optionally, input the original invoice number for reference.
Step 7 : Save the Expense Entry
After completing all fields, click Save to record the expense.