How to Add or Delete a Business in myBillBook Account
Written By Team Flobiz
Last updated Over 1 year ago
Overview
Managing multiple businesses in your myBillBook billing software account is easy and efficient. Whether you're adding a new business or removing an existing one, this feature allows you to keep your account organised and up to date. Adding businesses can help you track GST compliance, invoices, and inventory for different ventures, while the delete option ensures you maintain only relevant businesses.
Steps to Add a Business to myBillBook Account
Step 1: Log in to your myBillBook Account
Open the myBillBook app or website and log in using your credentials.
Step 2: Navigate to the Manage Business Section
Click on Settings, located on the left sidebar.
Select ‘Create New Business’.
Step 3: Add a New Business
Click the + Add New Business option.
Fill out the required details, including:
Business name
Phone Number
e-Mail
GSTIN (if applicable)
Address and contact details
Business logo (optional) and
Other applicable details
Click Save to complete the process.
Your new business will now appear in your account.
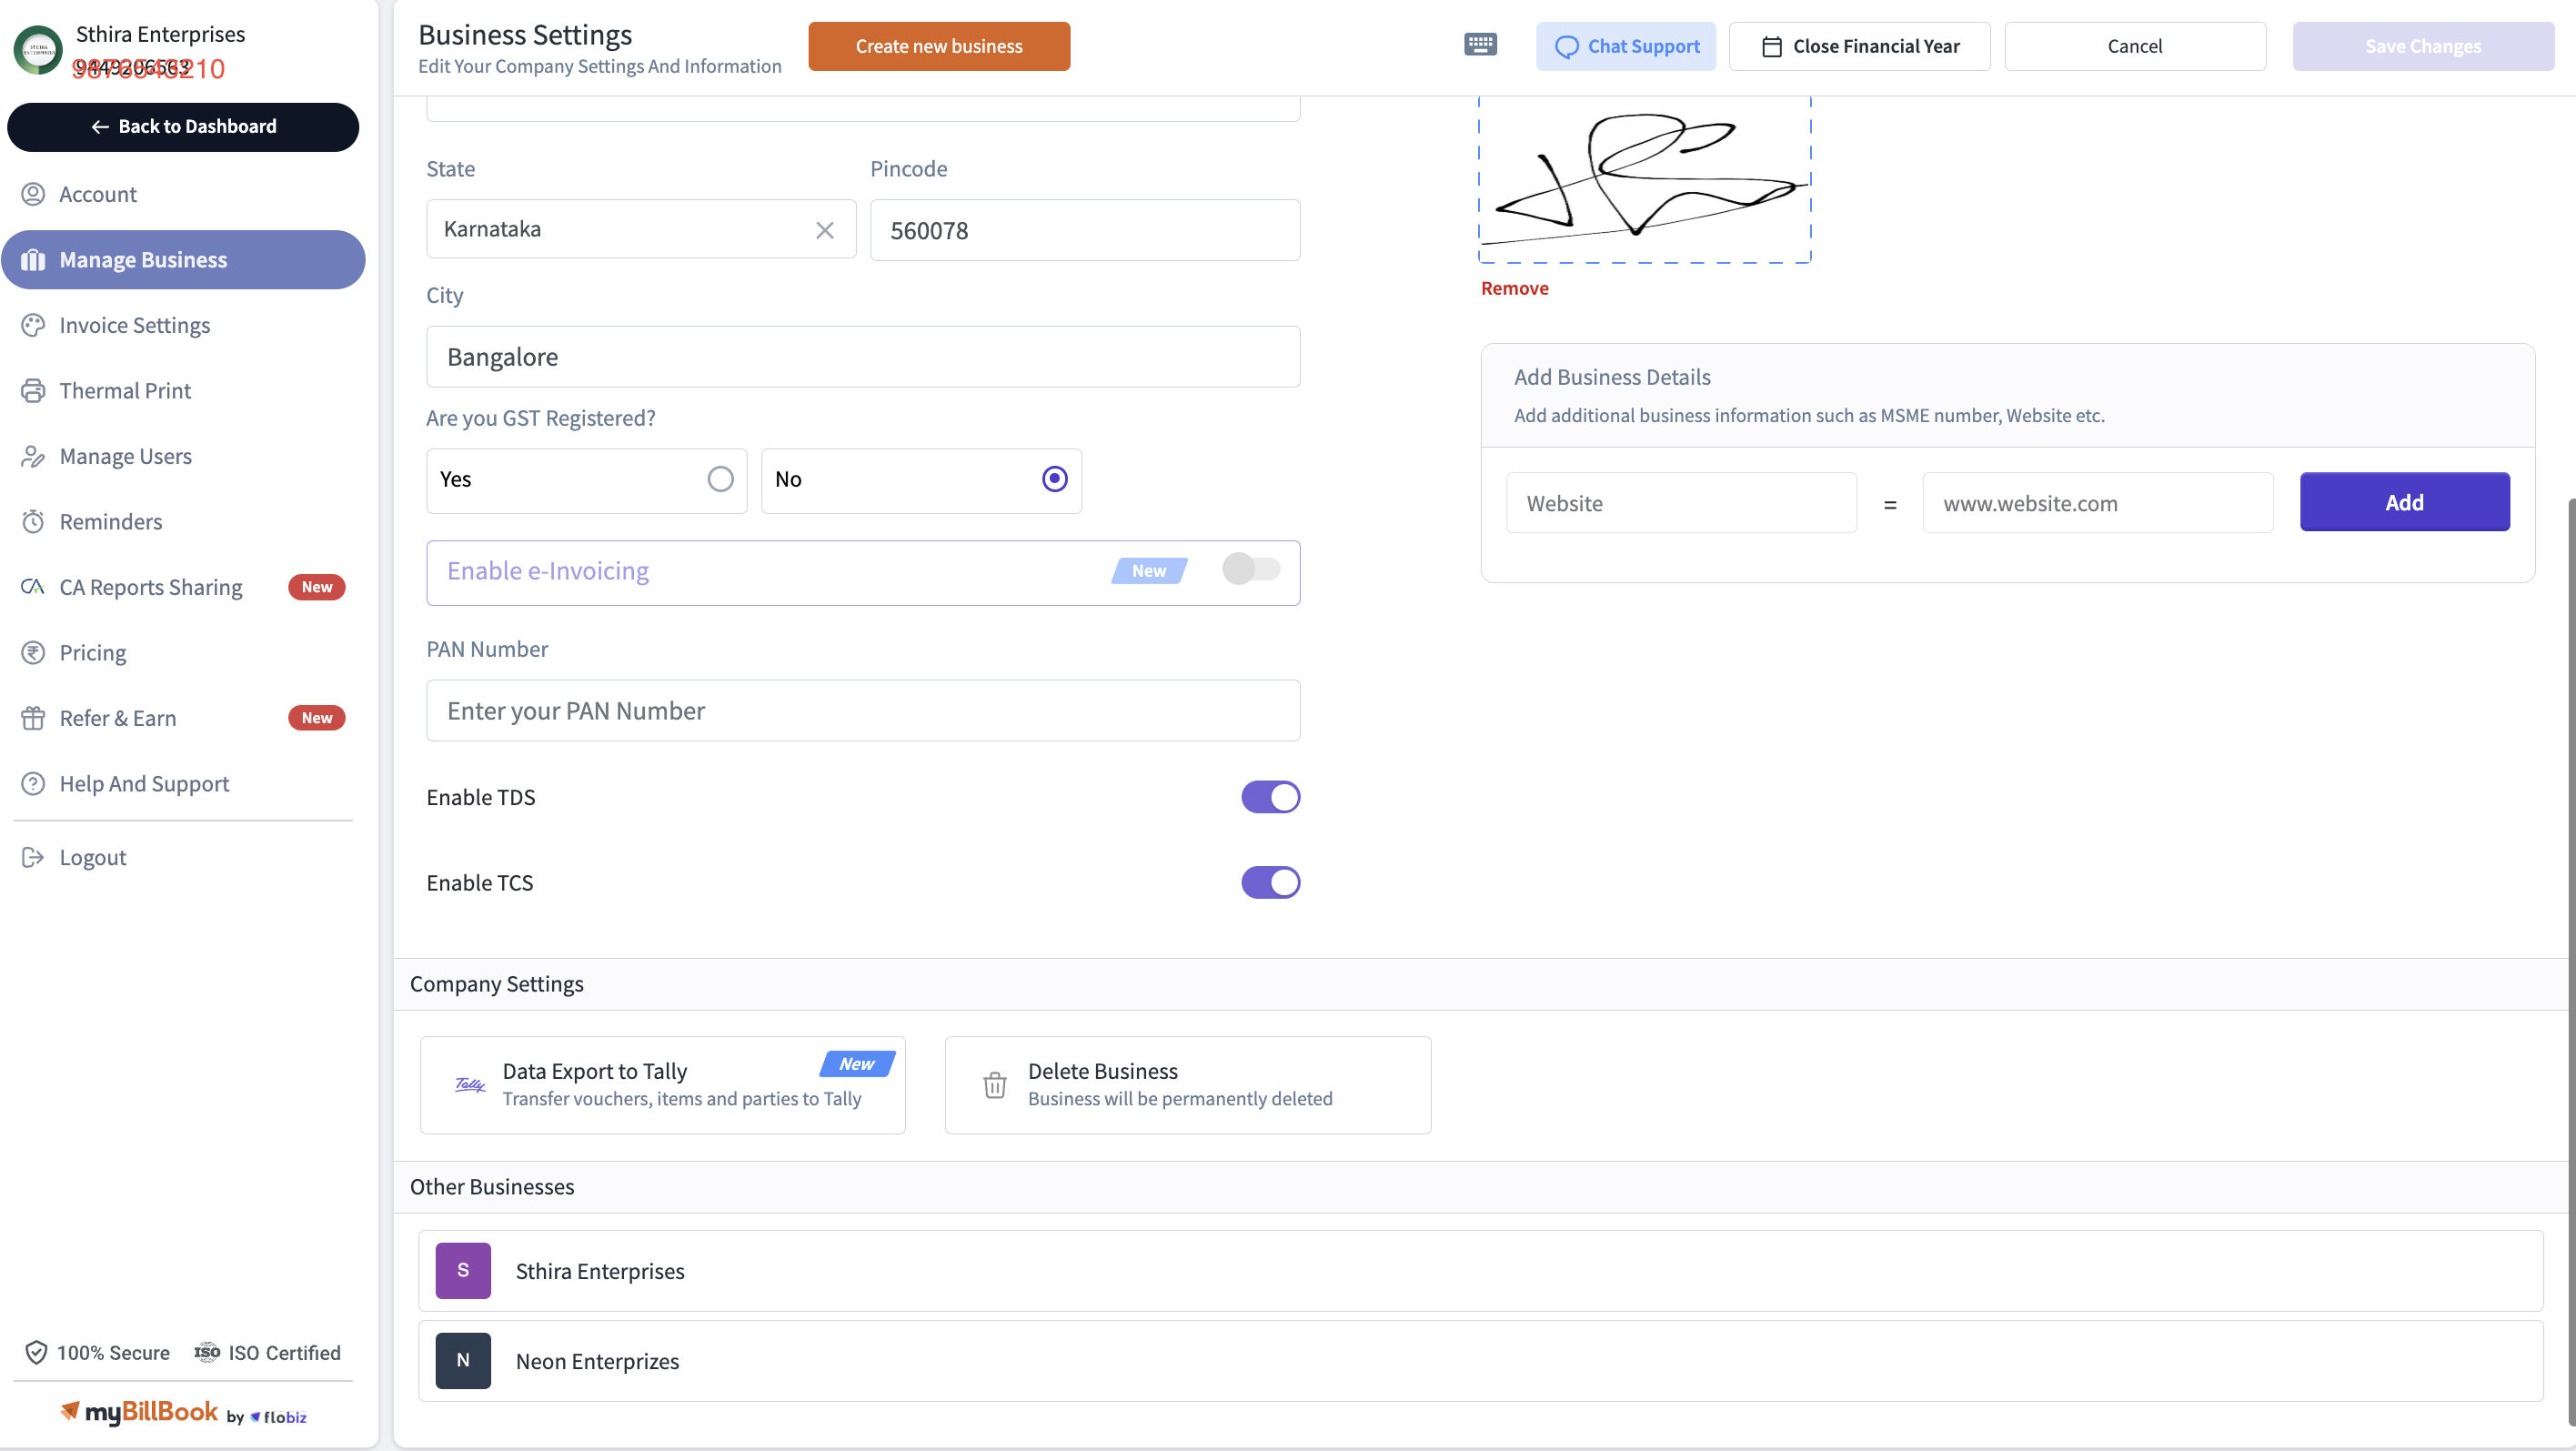
How to Delete a Business
Follow these steps to remove an unwanted business from your billing software account:
Step1: Access the Manage Business Section
Go to Settings and click on Manage Business.
Step 2: Select the Business to Delete
From the list of businesses, choose the one you wish to delete.

Step 3: Delete the Business
Locate the Delete or Remove Business option.
Confirm your action, which may require entering your password or an OTP for security purposes.
The business will be removed from your account.
Note: Deleting a business is irreversible, so ensure you no longer need the associated data.